はじめに
React Native(またはExpo)でウォークスルー型のオンボーディングを作る方法を紹介する😊
作るもの
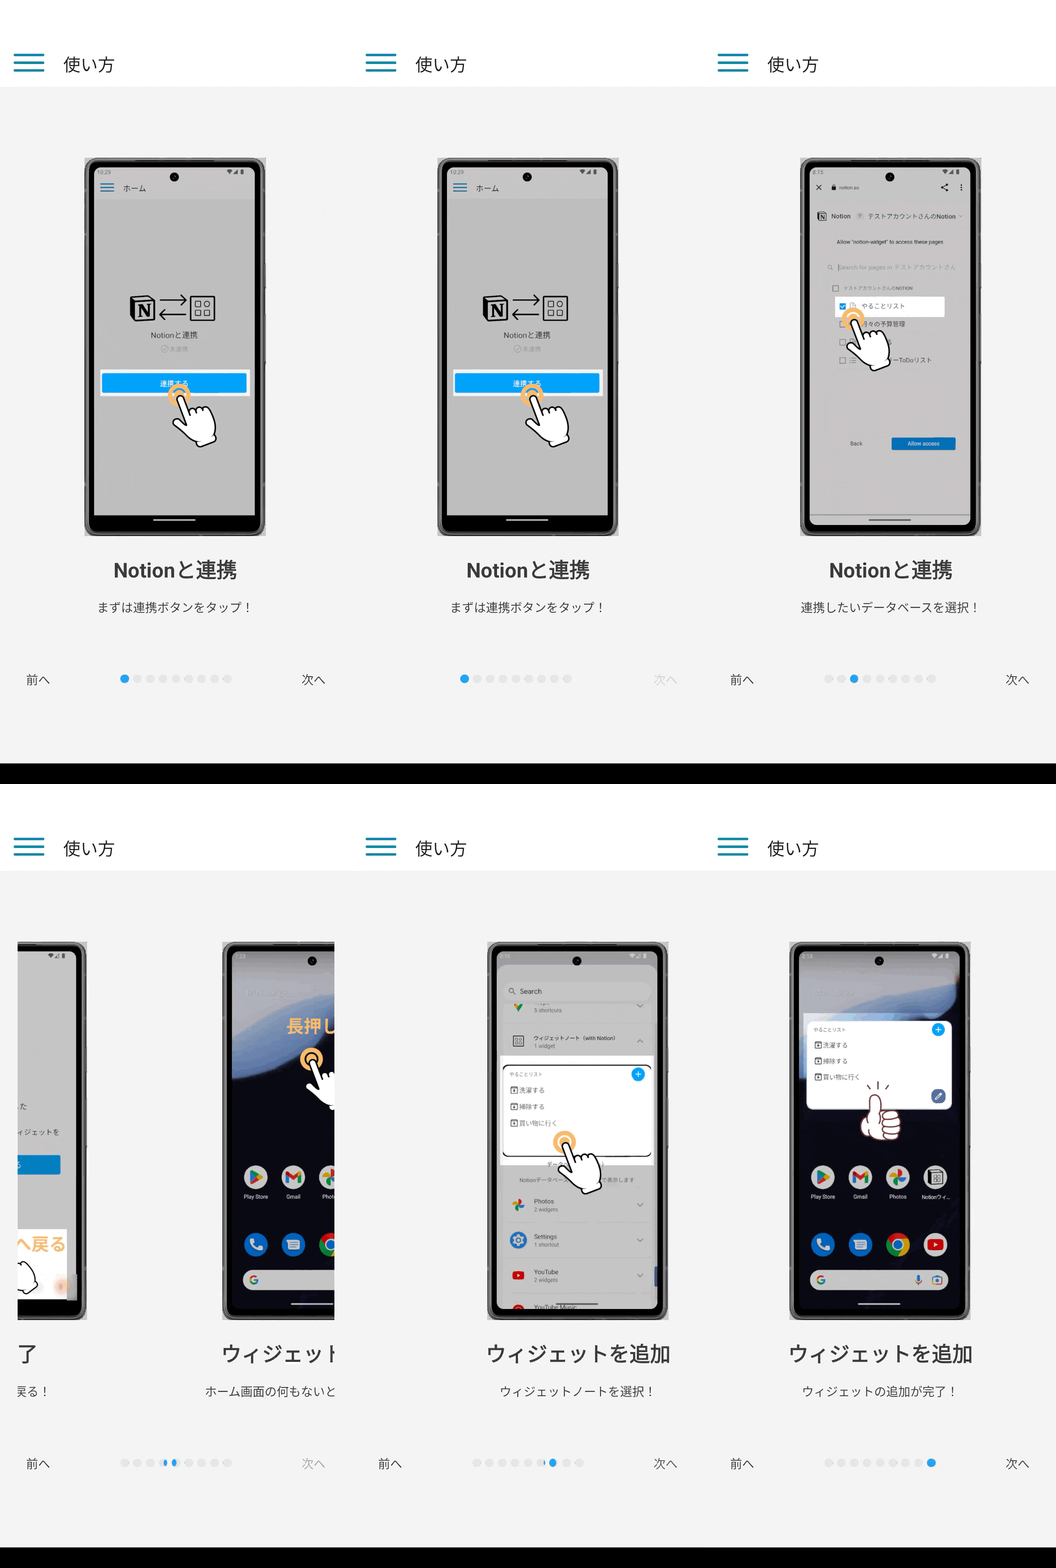
実際にアプリで使った様子
結論
✅react-native-reanimated-carouselとAsyncStorageを使うと簡単に実装できる。
✅ほとんどコピペで作れる。
オンボーディングってどうやって作る?
1️⃣カルーセルの画面
パッケージをインストール
✅使用するパッケージはカルーセルが作れれば何でもOK。
📎
今回は「react-native-reanimated-carousel」を使う
GitHub:https://github.com/dohooo/react-native-reanimated-carousel
公式ドキュメント:https://rn-carousel.dev/
【手順1】インストール
yarn add react-native-reanimated-carousel

または

npx expo install react-native-reanimated-carousel
【手順2】依存関係をインストール
yarn add react-native-reanimated react-native-gesture-handler

または

npx expo install react-native-reanimated react-native-gesture-handler
【手順3】先ほどインストールしたReact Native Gesture Handlerをセットアップ
(ルートコンポーネントを<GestureHandlerRootView>でラップする)
例
import { GestureHandlerRootView } from 'react-native-gesture-handler';

export default function App() {
  return (
    <GestureHandlerRootView style={{ flex: 1 }}>
      {/* content */}
    </GestureHandlerRootView>
  );
}【手順4】先ほどインストールしたReact Native Reanimated v2をセットアップ
(babel.config.jsのpluginsの一番最後に'react-native-reanimated/plugin’を追加する)
babel.config.js
  module.exports = {
    plugins: [
      ...
      'react-native-reanimated/plugin', // 追加
    ],
};画面を作成
✅任意の場所に新しい画面を作成する。
例:app/usage.tsx
(コピペでOK)
import * as React from "react";
import { Dimensions, Text, View, Image, StyleSheet } from "react-native";
import { useSharedValue } from "react-native-reanimated";
import Carousel, {
  ICarouselInstance,
  Pagination,
} from "react-native-reanimated-carousel";

const width = Dimensions.get("window").width; // 画面の幅
const images = [
  'https://placehold.jp/150x150.png',
  'https://placehold.jp/151x150.png',
  'https://placehold.jp/152x150.png',
  'https://placehold.jp/153x150.png',
  'https://placehold.jp/154x150.png',
  'https://placehold.jp/155x150.png',
];
// 【メモ】ローカルの画像を表示する場合はこう書く
//const images = [
//	require('@/assets/images/1.png'),
//	require('@/assets/images/2.png'),
//	require('@/assets/images/3.png'),
//	require('@/assets/images/4.png'),
//	require('@/assets/images/5.png'),
//];
function Usage() {
  const ref = React.useRef<ICarouselInstance>(null); // カルーセルの参照
  const progress = useSharedValue<number>(0); // 進行状況
  const [step, setStep] = React.useState(0); // 何枚目のスライドか

  // ページネーションが押されたときの処理
  const onPressPagination = (index: number) => {
    ref.current?.scrollTo({
      /**
       * 現在のインデックスと目標のインデックスの差を計算して、
       * カルーセルが最も近いインデックスにスクロールするようにします
       */
      count: index - progress.value,
      animated: true,
    });
  };

  return (
    <View style={styles.wrapper}>
      <Text>STEP:{step + 1}</Text>
      <View style={styles.container}>
        {/* カルーセル */}
        <Carousel
          ref={ref}
          width={width * 0.9}
          height={height * 0.6}
          data={images}
          onProgressChange={progress}
          onSnapToItem={(index) => {
            setStep(index);
          }}
          renderItem={({ item }) => (

          <View
          style={{
            flex: 1,
            borderWidth: 1,
            justifyContent: "center",
          }}
        >
          <Image
            source={{ uri: item }} // 画像のURLを指定
            style={{ width: '100%', height: '100%' }} // 画像のスタイルを指定
            // 【メモ】ローカルの画像を表示する場合
            // source={item}
          />
        </View>
        )}
      />

        {/* ページネーション */}
        <Pagination.Basic
          progress={progress}
          data={images}
          dotStyle={{ backgroundColor: "rgba(0,0,0,0.2)", borderRadius: 50 }}
          activeDotStyle={{ backgroundColor: "rgba(255,255,255,0.2)", borderRadius: 50 }}
          containerStyle={{ gap: 5, marginTop: 10 }}
          onPress={onPressPagination}
        />
      </View>
  );
}

export default Usage;

const styles = StyleSheet.create({
  wrapper: {
    flex: 1,
    alignItems: "center",
    justifyContent: "center",
  },

  container: {
    height: height * 0.7,
  }
});
【注意】ページネーションが動かない場合
パッケージに不具合があるみたい💦
対処方法:
新しいバージョンをインストールすると直った!
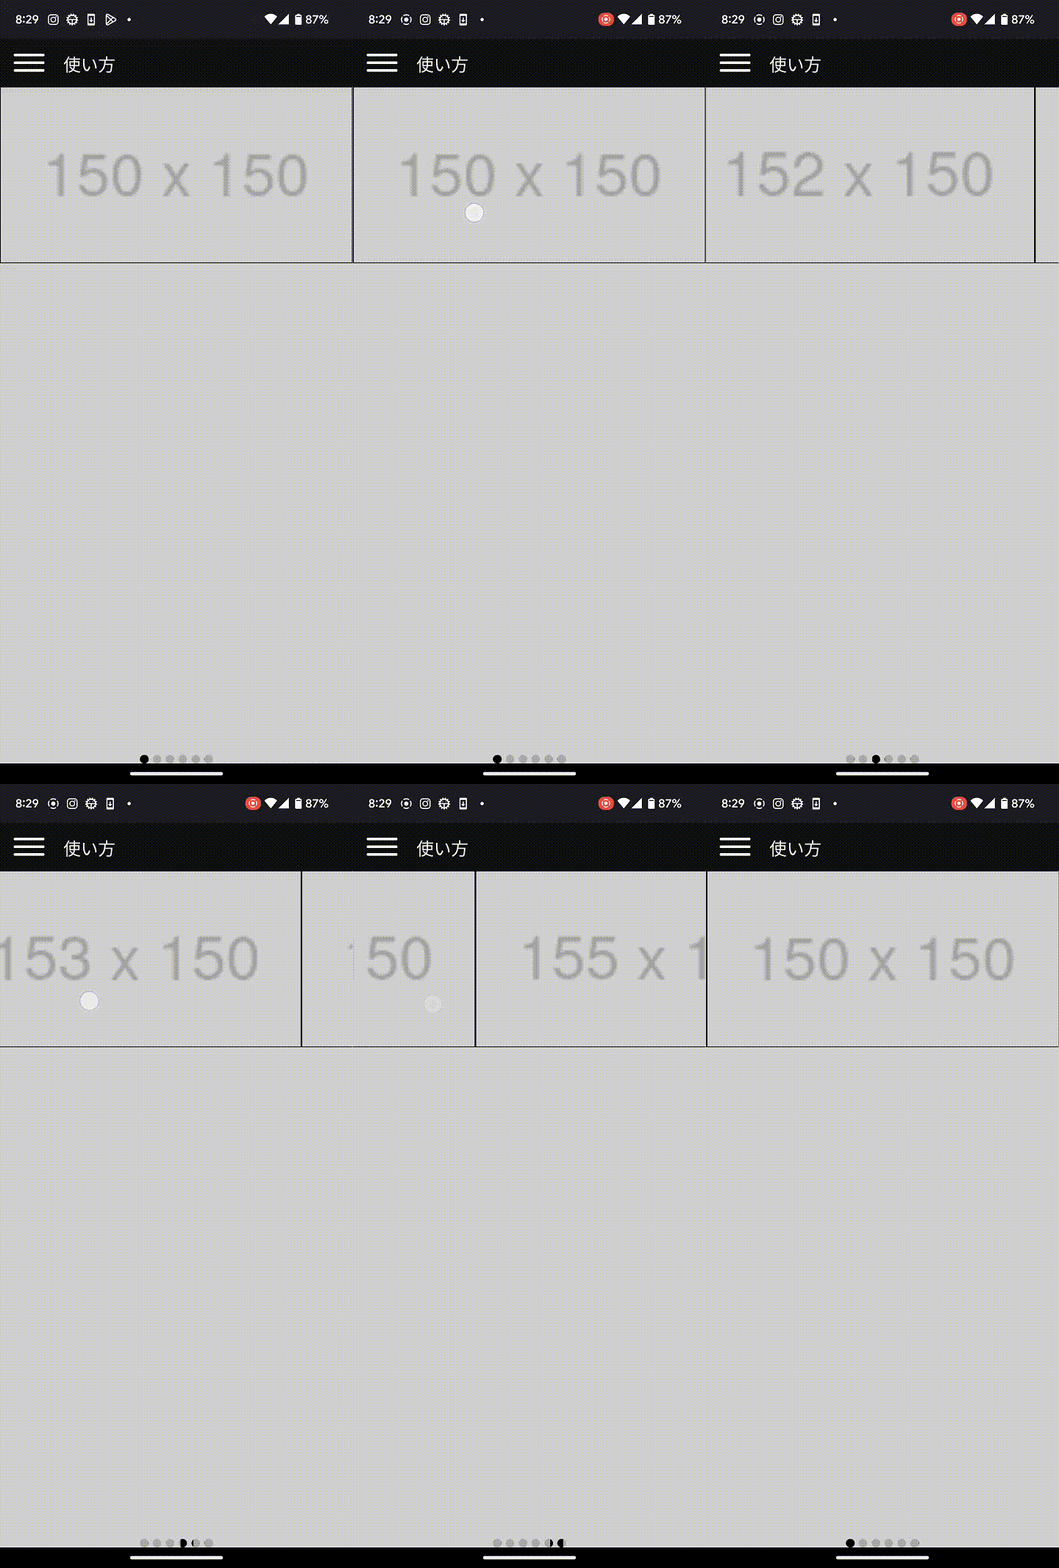
npm install react-native-reanimated-carousel@4.0.0-alpha.12 この時点の画面イメージ
2️⃣初回起動か判定
あとは初回起動のときに、カルーセルを表示するだけ!
初回起動か判定する方法
✅AsyncStorageを使って初回起動か判定することができる。
パッケージをインストール
npm install @react-native-async-storage/async-storageサンプルコード
✅初回起動のときだけ、自動で画面遷移させる。
例:app/index.tsx
(アプリのトップ画面に以下を追記する)
import { useEffect, useState } from "react";
// ここではexpo-routerで画面遷移させているが、適宜使っているナビゲーションライブラリに変更する。
import { router } from "expo-router";
import AsyncStorage from "@react-native-async-storage/async-storage";

export default function HomeScreen() {
	const [isFirstLaunch, setIsFirstLaunch] = useState<boolean | null>(null); // 初回起動かどうか

  useEffect(() => {
    /**
     * ✅初回起動かどうかをチェック
     */
    const checkFirstLaunch = async () => {
      try {
        const value = await AsyncStorage.getItem("hasLaunched");

        if (value === null) {
          // 初回起動の場合は、オンボーディングへ遷移
          setIsFirstLaunch(true);
          await AsyncStorage.setItem("hasLaunched", "true");
          router.push("/usage");
        } else {
          // 2回目以降の起動の場合は、何もしない
          setIsFirstLaunch(false);
        }
      } catch (error) {
        console.error("初回起動時のチェック失敗: ", error);
        setIsFirstLaunch(false);
      }
    };
    checkFirstLaunch();
  }, []);

  if (isFirstLaunch === null) {
    // 初回起動時かどうかの判定が終わるまで何も表示しない
    return null;
  }

   return (
    ...
	)
}
💡
これで完成!
(初回起動したときだけカルーセルが表示される)
まとめ
✅オンボーディングは「カルーセル」と「初回起動の判定」を組み合わせて作る。
- 「react-native-reanimated-carousel」を使えばカルーセルの画面が作れる。
- 「AsyncStorage」を使えば初回起動の判定ができる。
今回の内容を元に、画面をおしゃれにカスタマイズすれば、実践的なオンボーディングも作れる✨


